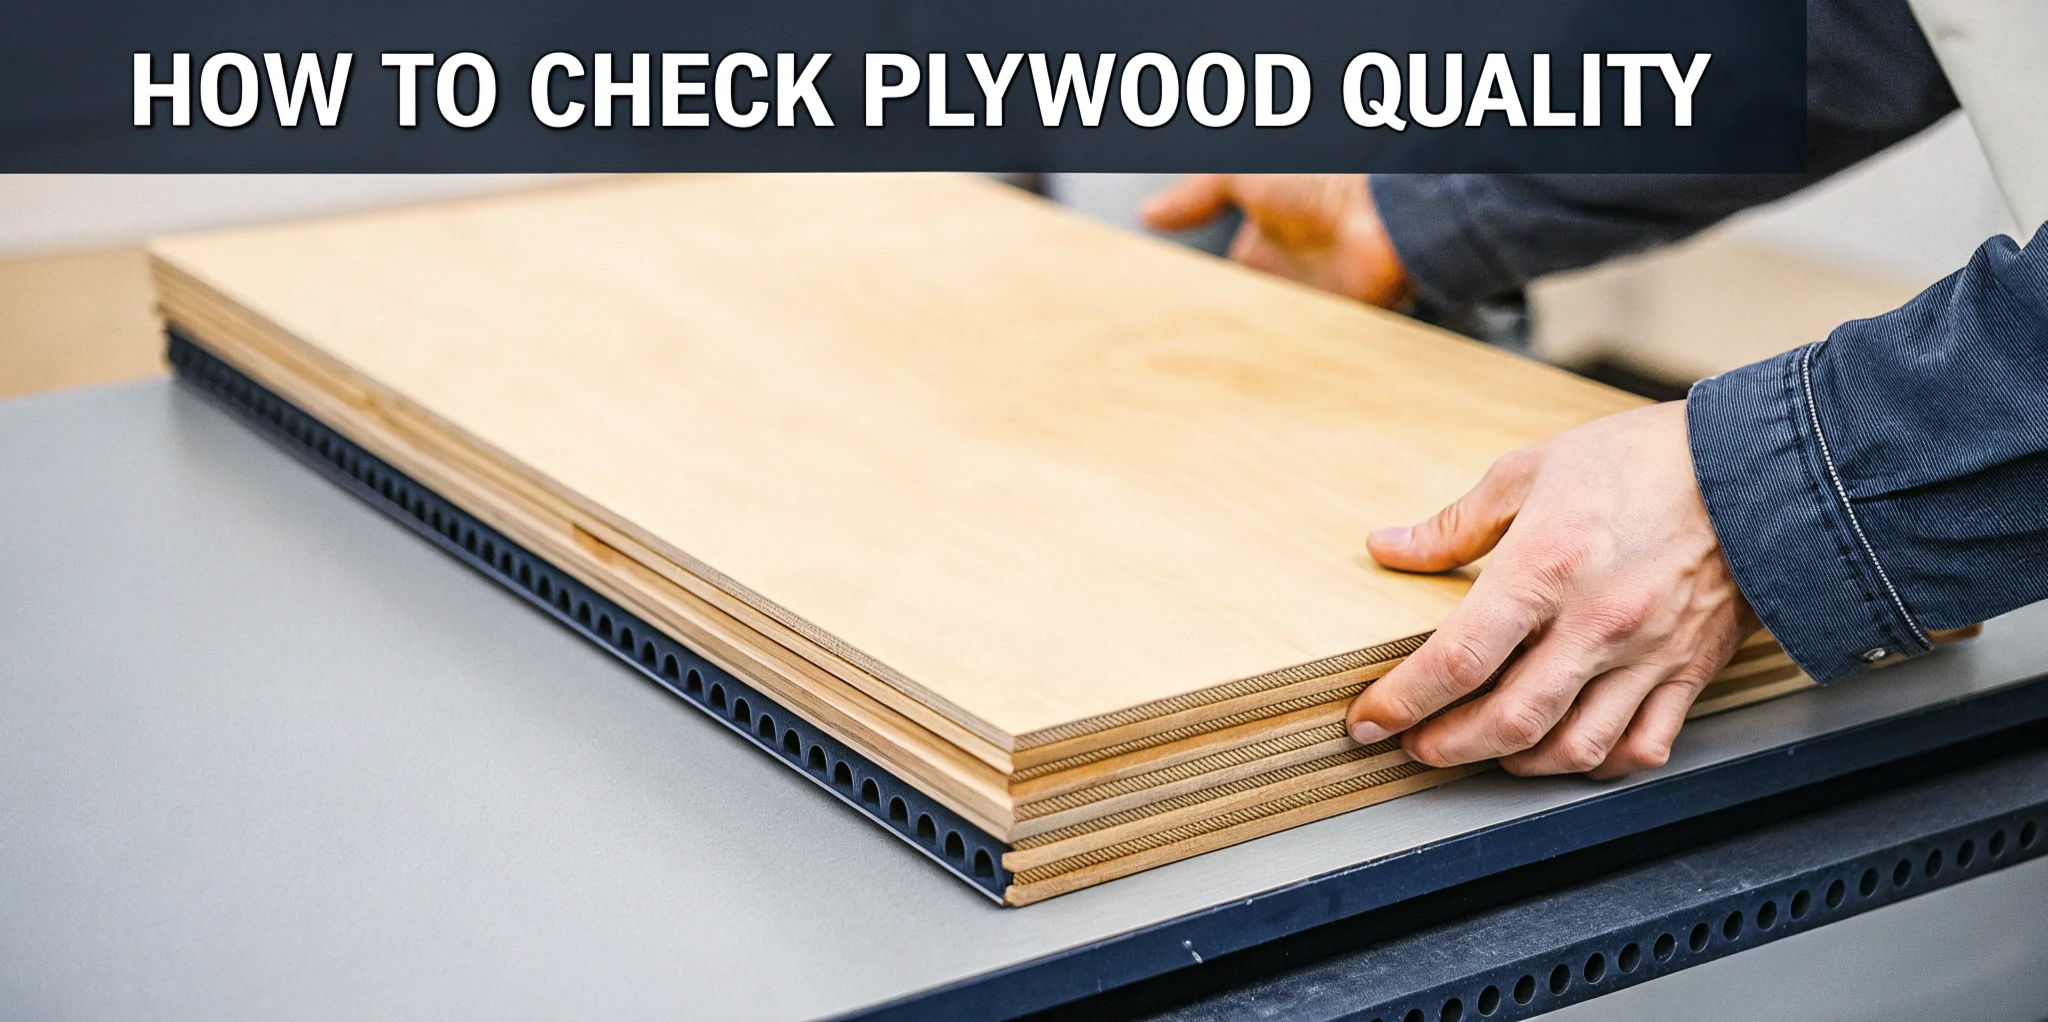
When it comes to selecting the best plywood, a common question is how to check plywood quality for your woodworking projects. Understanding plywood quality is essential, as high-quality plywood ensures the durability, strength, and aesthetic appeal of your final product.
In this comprehensive guide, we will walk you through the steps to assess the best quality plywood, covering crucial aspects to help you make an informed decision.
Major Methods To Test Plywood Quality
Ensuring the quality of plywood is crucial for the success of any woodworking project. Here are seven major methods to help you assess the best plywood quality for your needs:
1. Checking The Surface
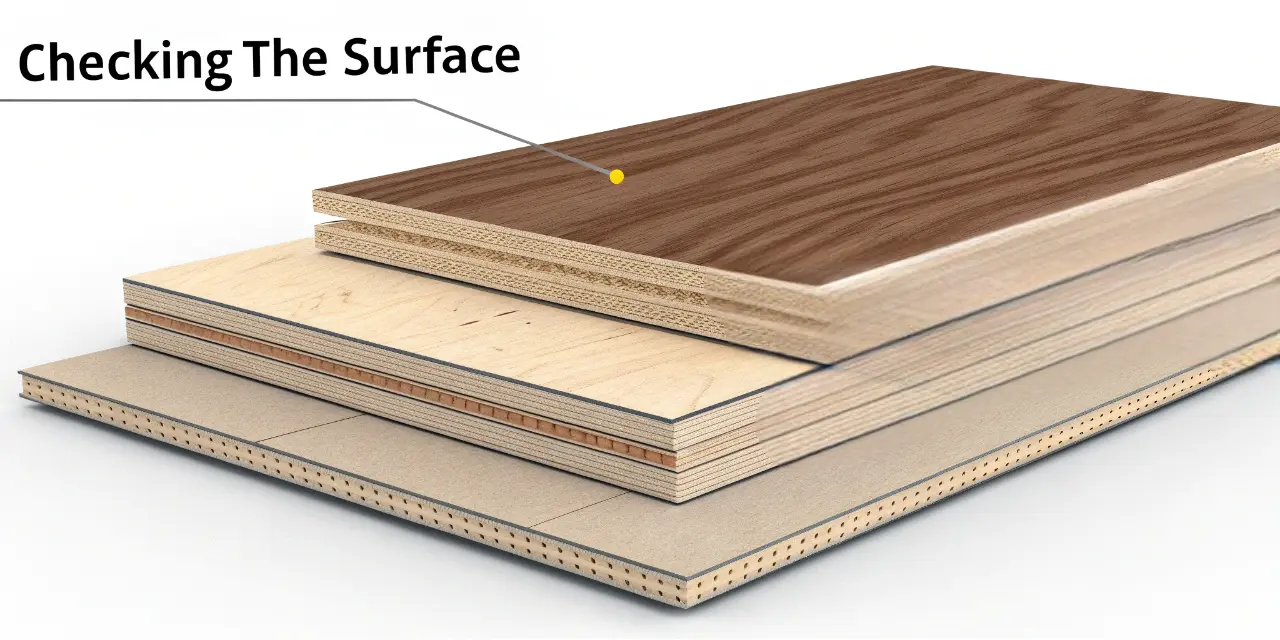
- A thorough visual inspection is the first step in determining the best plywood quality. Look for a smooth, even surface without any warping or buckling. A flat surface is crucial for woodworking projects as it ensures accurate cutting and assembly.
- High-quality plywood should have minimal defects such as knots, splits, and voids. These defects can weaken the plywood and affect its durability.
- The face veneer customization of the plywood should have a uniform color and grain pattern, indicating a higher quality of plywood.
- Additionally, the face veneers should be free from patches or repairs, which can indicate previous damage or imperfections in the plywood.
2. Edge Examination
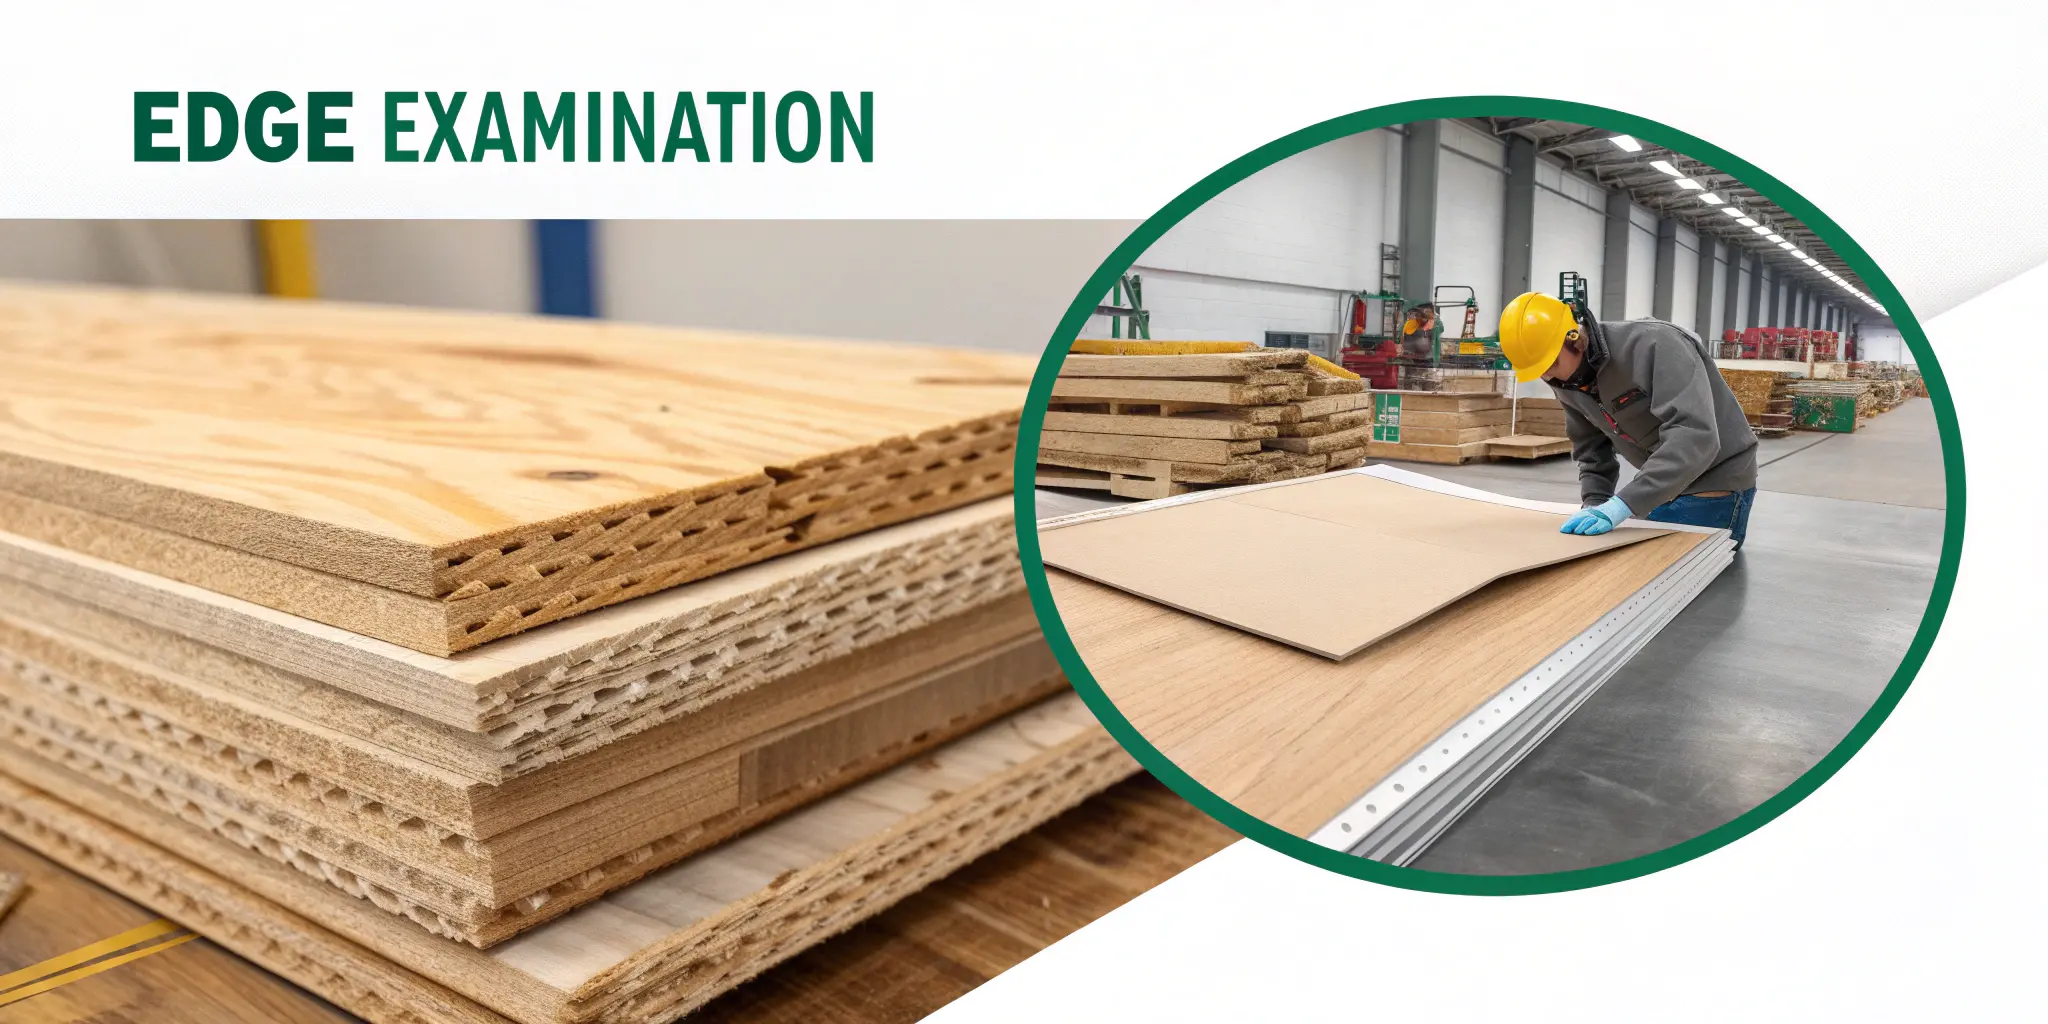
- Inspect the edges of the plywood sheets closely for signs of delamination, which is the separation of layers at the edges.
- Check for gaps between the plies, as well-constructed plywood of the best quality will have tightly bonded layers without noticeable gaps or irregularities.
- The edges should be smooth and free from rough spots, which can affect the overall finish of your project.
3. Core Integrity
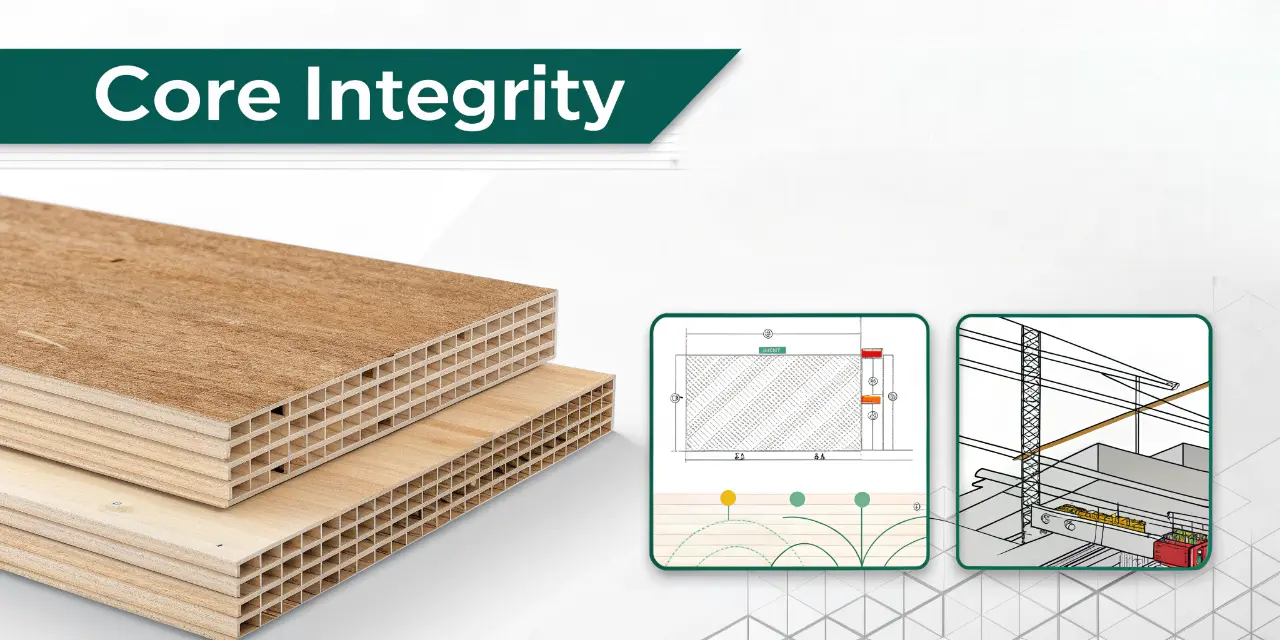
- Examine the core of the plywood sheets to ensure that the layers are evenly distributed and firmly bonded.
- Press the surface gently to check for any soft spots or voids that may indicate poor construction or low-quality core materials.
- High-quality plywood typically has a solid core or well-bonded veneer core, providing excellent strength and stability.
4. Grain Direction
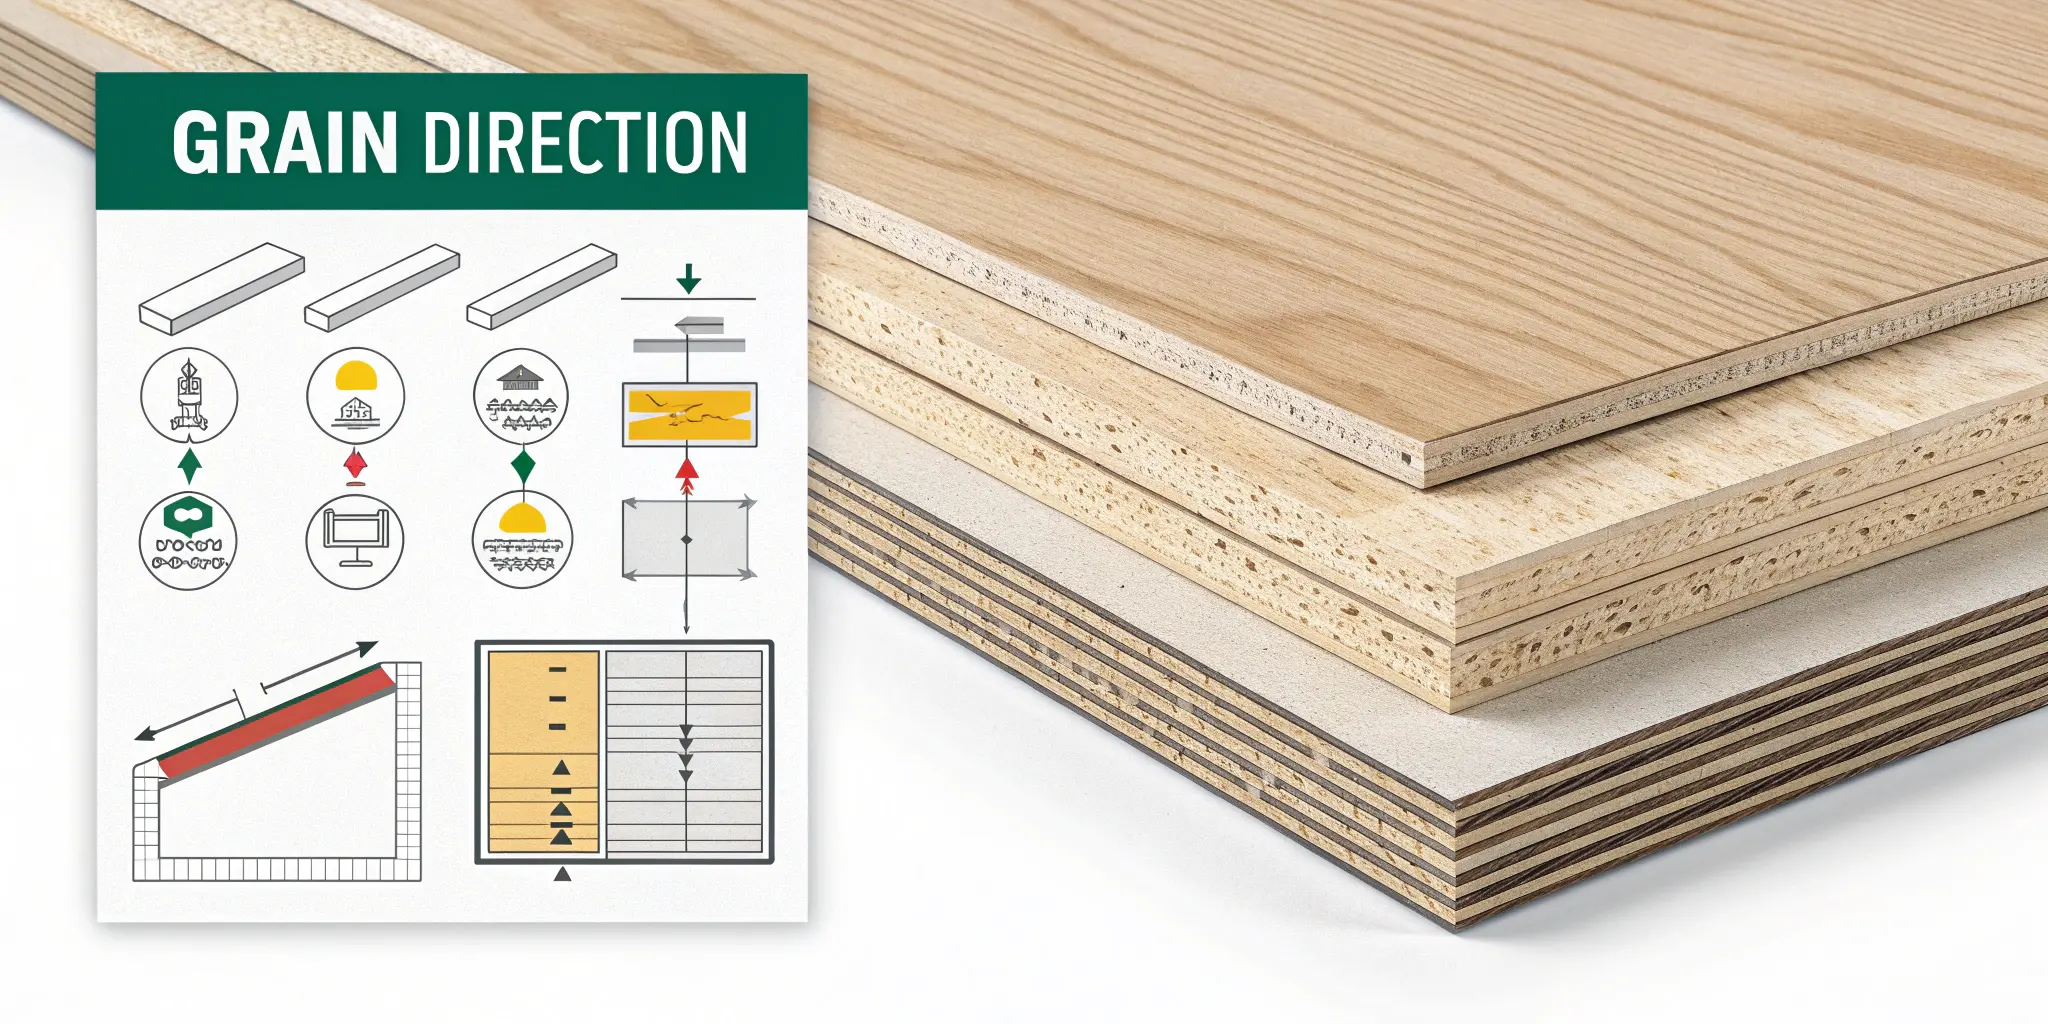
- Note the direction of the grain on the surface veneers. The grains should run parallel to the length of the plywood sheet for optimal strength.
- Cross-grain patterns or irregularities can indicate lower-quality plywood and affect its performance in woodworking projects.
5. Sanding Quality
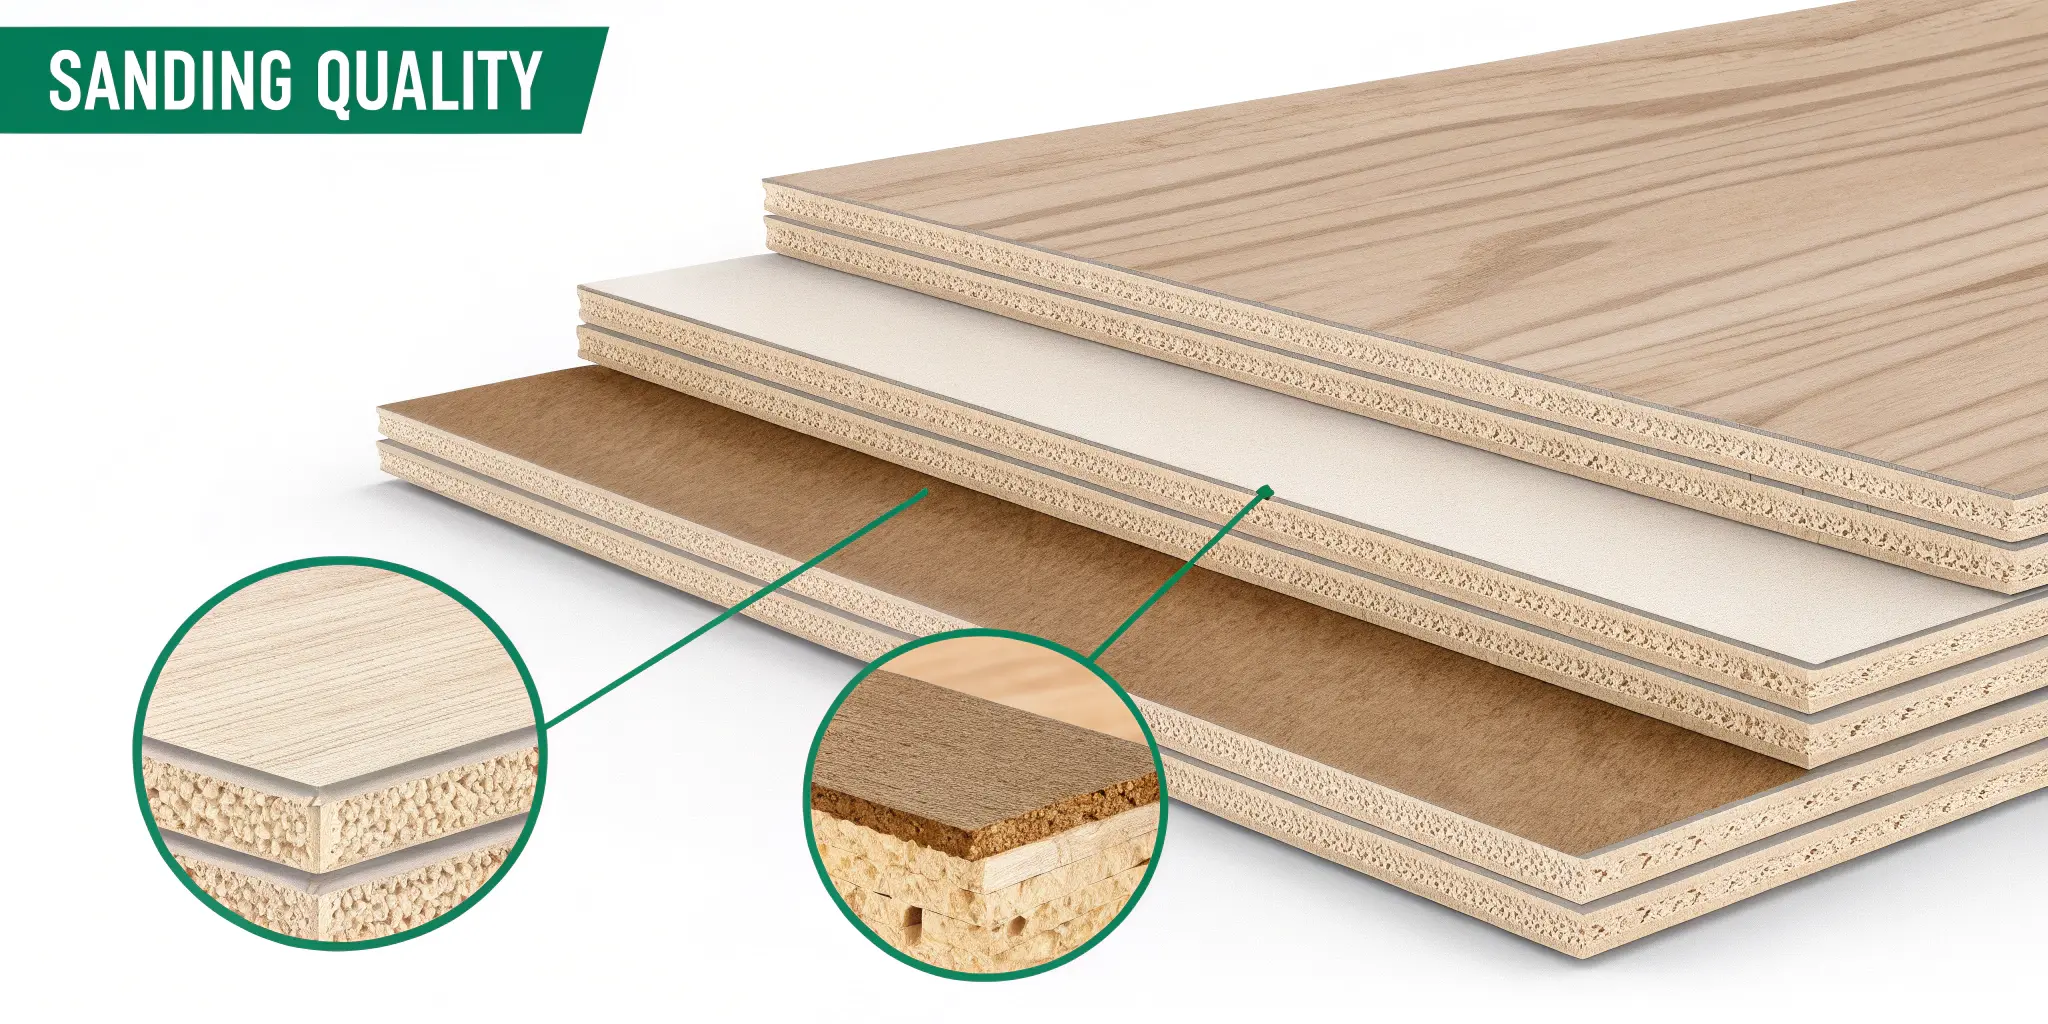
- Check the quality of sanding on the plywood surface. High-quality plywood is often sanded to a smooth finish without any rough patches or uneven areas.
- Rough surfaces can affect the final appearance and finish of your woodworking project, so ensure that the plywood is properly sanded.
6. Moisture Content
- Look for any signs of moisture damage, such as discoloration or mold on the surface of the plywood.
- Moisture can weaken plywood and affect its structural integrity, especially in humid environments or outdoor applications.
7. Manufacturer’s Stamp Or Label
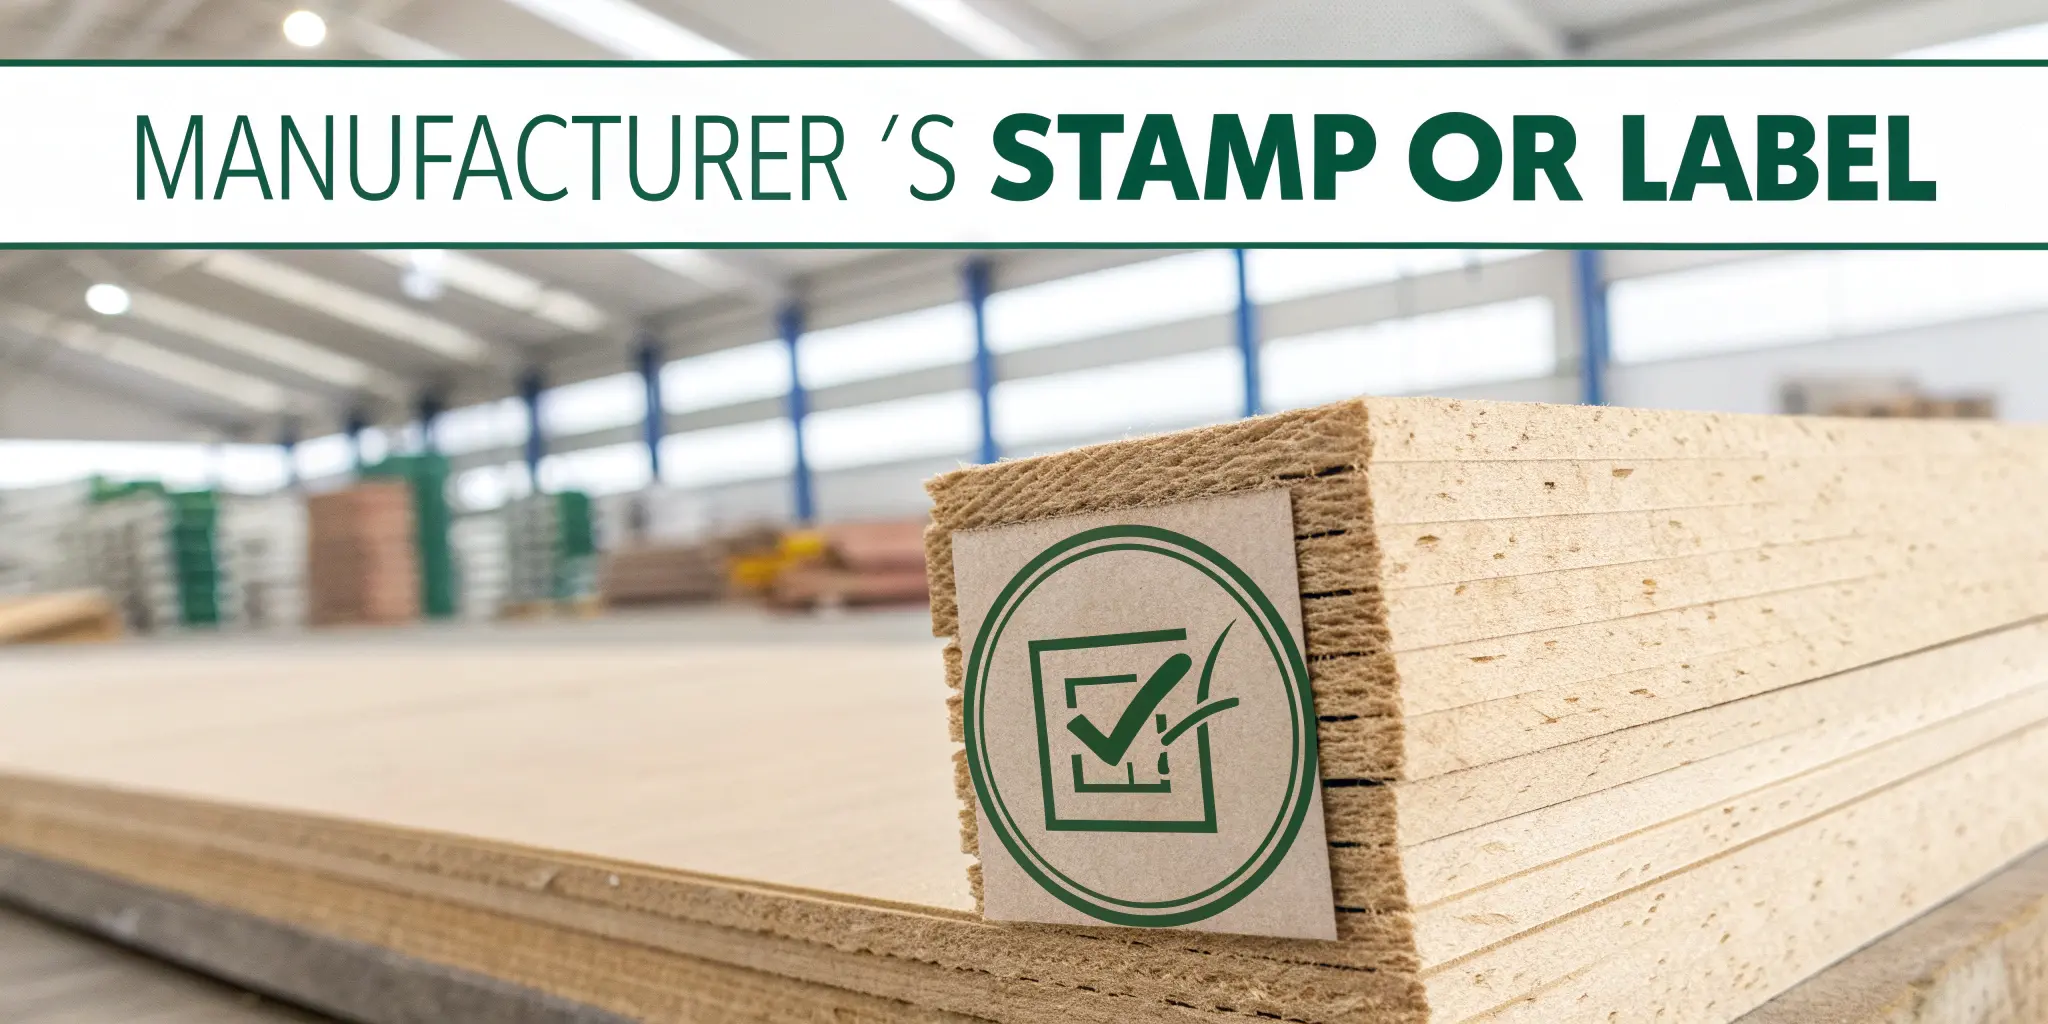
- Check for the manufacturer’s stamp or label, which should include information about the grade, type of adhesive used, and compliance with standards.
- Reputable manufacturers like MRS Woodcraft adhere to stringent quality standards and provide reliable products.
Conclusion
Choosing high-quality plywood is essential for the success of your woodworking projects. By following these steps and understanding the different grades and types of plywood, you can ensure you select the best material for your needs. At MRS Woodcraft, we are committed to providing top-quality multi product to help you achieve the best results in your projects.
Frequently Asked Questions?
How To Check Plywood Quality Key Indicators?
Indicators of high-quality plywood include a smooth, even surface, minimal defects, tightly bonded layers, consistent thickness, proper moisture resistance, and reputable manufacturer labels.
How To Check The CML Number in Plywood?
To check the CML number of plywood look for a stamp or label on the plywood sheet or can be checked through the BIS website.
What Role Does The ISI Mark Play In Plywood Quality?
The ISI (Indian Standards Institute) mark ensures that the plywood meets industry quality standards. Look for IS:303 for commercial plywood and IS:710 for marine-grade plywood.
What Are Common Defects To Watch Out For When Buying Plywood?
Look for signs like warping, surface cracks, gaps in layers, rough finishes, and uneven edges. Avoid plywood with visible defects as they can compromise strength and durability.

